|
| Final product! A beautiful tribute to books and all things literature. |
Over the summer break I got a chance to make magic happen in one of the happiest places in a school. The library! I was able to help make this really cool clock installation out of books. It was a fun process that required some step-by-step instructions. Below I show the process along with some pictures. Enjoy!
Step One
 |
| Set of 12 books |
Find a set of 12 books pertaining to the numbers 1-12. After you have your set of 12 books you simply use a liquid adhesive (modge podge, elmers glue), I personally used a diluted version of Elmer's glue by adding a tiny bit of water to it until it reached a smooth modge podge consistency. I used this concoction to seal the pages in the books by using a 1 inch paint brush on the sides of the closed book. I learned the hard way to seal all the pages but to leave the cover open and unglued.
Step Two
Let the books rest under some sort of weight. I used my teacher resources a.k.a the big paint gallons the kids use. You can see that I placed plastic wrap as a divider between the books, I did this to make sure the front covers were kept intact and had no glue spillage. I kept the books drying like this for about a week.
Step Three
Once dried and ready you adhere the clock arms unto the wall and move the handles around to see where each book would go. I had someone help me with the installation and we ended up using bulletin board pins as reference for the books.
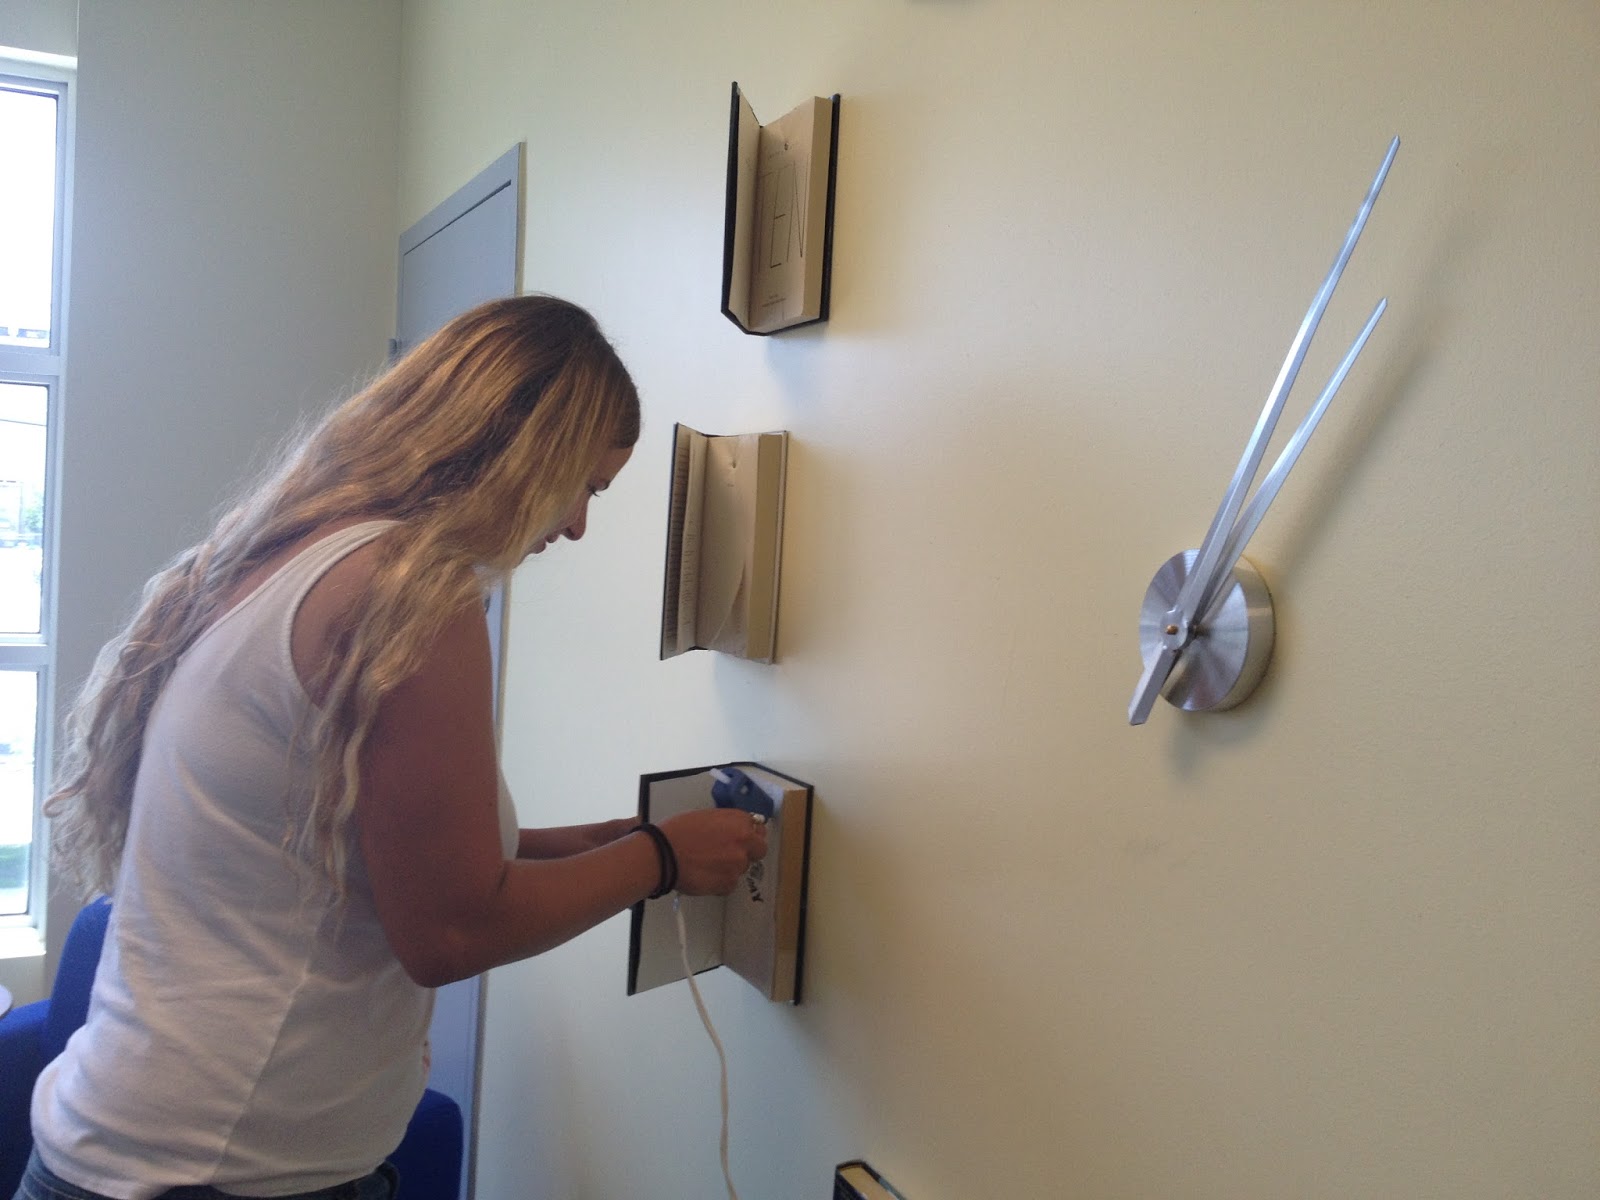
Step Four
We then proceeded to drill the books unto the same points we previously placed on the wall with bulletin board pins. Some books were a bit heavy so we used screw anchors to secure the books.
Step Five
After drilling all the books we hot glued the covers shut to hide the screw marks. We were then left with the beautiful product.